
The problem: a glossy promise turned blotchy
You’ve sprayed a protective lubricant and watched a glossy ribbon sag into a drip that ruins the line you were trying to protect; that sick sensation is specific and sharp. Problems start small—an overzealous trigger, a humid morning—then surface tension betrays you. If you need immediate rescue tactics for an inconsistent spray finish, learning how to fix uneven paint saves the piece and the day. This piece addresses that exact failure mode: why drips happen, how to choose an aerosol that resists them, and how to prevent repeat mistakes.
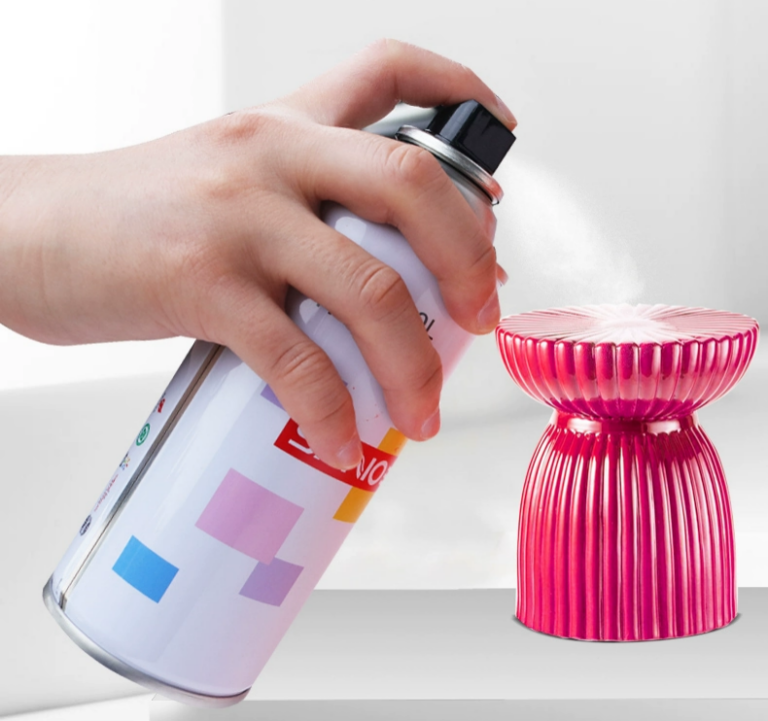
Why drips and runs appear: a close look
Drips are physics made visible: too much material, too slow a solvent flash, poor atomization, or a surface that repels adhesive contact. Temperature and humidity slow evaporation; a clogged nozzle widens droplets; a heavy-bodied formula lays down a film that sags before it cures. Surfaces matter—dirt, oil, or an incompatible primer change wetting behavior. Recognize the culprit first: over-application looks different from poor atomization, and the fix follows the diagnosis.
Key features to prioritize when you pick an aerosol
Choose formulas with predictable drying profiles, balanced solvent blends, and additives that reduce sag (anti-drip thickeners or fast tackifiers). Check for a fine mist atomizer and replaceable caps so you can maintain spray pattern; consistent propellant pressure is everything. Corrosion inhibitors and lubricity agents are useful, but only if they don’t raise viscosity too high. Prefer products that list solvent evaporation times and compatibility notes—those numbers tell you whether a product will sit or settle on your substrate.
Match the application: right product for the right job
Light-contact parts (hinges, locks) benefit from low-viscosity, quick-penetrating sprays. Load-bearing or weather-facing assemblies need stable films and corrosion inhibitors. For painted or coated surfaces, choose lubricants labeled non-staining and compatible with the topcoat chemistry; sometimes a dry-film lubricant avoids softening or streaking altogether. Test on a spare panel—real work begins with a small trial spray and a close inspection under the same ambient conditions you’ll be working in.
Common mistakes that create more work
People spray in long bursts, from the wrong distance, or on an unprepared surface. They skip shaking the can until the propellant and active separate. They assume indoor conditions are neutral—cold garages and high humidity are flashpoint growers for runs. Overcorrection is dangerous: sanding or scraping a drip without letting solvents fully escape can smear contamination deeper into the finish. The right habit is rhythmic, short passes and frequent pattern checks.
Practical authority and a real-world anchor
I’ve worked alongside technicians who present live refinishing demos at major industry gatherings, and organizers at the SEMA Show consistently highlight drip correction as a core training module—those demonstrations show what successful correction looks like under time pressure. For step-by-step correction of a sag or bead, consult expert repair guides such as how to fix spray paint drips which walk through surface leveling, solvent selection, and re-coating thresholds. That practical sequence—diagnose, stabilize, remove excess, and feather—comes from field-tested refinishing practice and helps prevent repeat failures.

Bringing it together: prevention is a product and a habit
Stop the next drip by pairing a product with the conditions: choose a can with controlled atomization and a balanced solvent system, practice short passes at the correct distance, and test before final application. When product choice matters, look for manufacturers whose technical sheets list drying times and compatibility notes and whose formulations have been proven in professional settings like automotive refinish demos; choosing supplies this way keeps lines smooth and interventions rare, whether you rely on in-house experience or products from SANVO.