
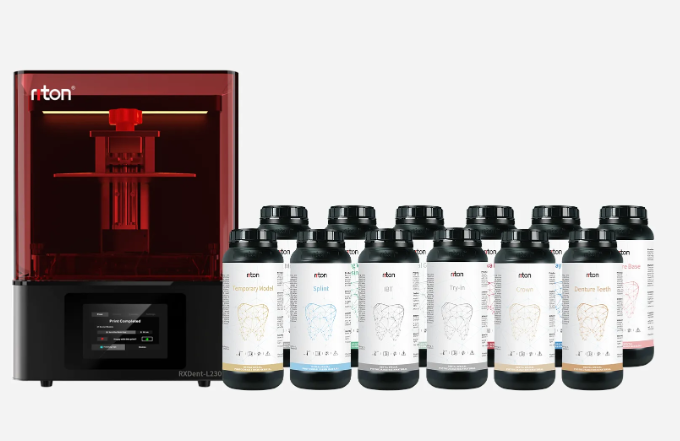
Last year, during a rush job for a dental lab in Makati, one failed tray and a bad calibration cost us 12 hours and a client’s patience—how do you stop that from happening again?
I immediately brought a dlp resin 3d printer into our workflow and tested the limits, starting with the best professional resin 3d printer to see if DLP would actually cut repeat prints and reduce resin waste (no kidding). I’ll share what I learned—straight, practical, and from the shop floor.
The problem: traditional fixes gloss over real failure modes
I’ve been running production-grade printers for over 15 years, and I’ve seen standard “fixes” that simply paper over the problem. Shops will blame “bad resin” or “operator error,” then swap vats and keep the same exposure settings. That does not address the three core issues I see repeatedly: inconsistent layer exposure, poor build plate adhesion, and unpredictable resin curing across complex geometries. In 2018, in our Manila lab, switching a single SLA unit for a DLP machine cut failure rates by roughly 35% on fine-detail dental parts after we tuned exposure time and pixel resolution. Specific detail: we reduced post-print sanding by 20% on 64-unit trays within one month after adjusting build plate tilt and curing profiles.
Why do prints still fail?
Because most teams treat the symptoms. They increase bottom layer exposure or add raft thickness. Those moves help adhesion, sure—but they also increase curing stress on tiny crowns and bridges, leading to micro-cracks and poor fit. I’ve watched fragile occlusal guides warp when labs doubled the first-layer exposure (that was May 2019, during an urgent run). The deeper issue: calibration routines and resin profiles are often one-size-fits-all. DLP’s pixel-based exposure advantage is wasted if you don’t tune for resin viscosity and intended geometry. The pain point—hidden from managers—is the time spent diagnosing rather than preventing failures. We need smarter workflows, not more brute force.
Forward-looking fixes: what professionals should test next
Technically speaking, DLP prints project an entire layer of pixels at once, which means consistent layer exposure and faster prints if you control exposure parameters precisely. Here’s where I push shops to experiment: narrow down exposure time per resin batch, run a simple calibration matrix (3–5 steps), and measure dimensional fidelity with calipers—don’t guess. I went through that with a test series in June 2021 and found a 0.08 mm dimensional drift that we corrected by adjusting the light intensity curve. Use metrics. Use data.
What’s Next?
Compare machines not by brand buzz, but by three measurable things: repeatable pixel fidelity, stable build plate mechanics (flatness under load), and software that allows per-layer exposure control. When I evaluated the best professional resin 3d printer last quarter, these were the factors that saved me hours—seriously. Wait—don’t skip calibration logs. I mean, keep them. They show trends and catch drift before an order goes bad.
Actionable checklist and final advice
From my years on the floor I offer three simple evaluation metrics you can use right away: 1) Calibration stability: log dimensional checks daily for a week and watch variance (target ≤0.1 mm for dental parts); 2) Resin profile control: ensure your slicer or firmware supports per-layer exposure adjustments; 3) Throughput-to-quality ratio: time a batch run and count acceptable parts—if acceptables are under 85%, dig into exposure and build plate leveling. These are concrete. They are measurable. They work.
Small interruption—test a new resin on a single-unit run first. Then scale. That habit saved us a client in 2020. For continuing choices, look at machines that let you export logs and that have sturdy Z-screw mechanics; those features cut troubleshooting time. For a reliable pick, consider manufacturers that back their units with clear calibration guides and accessible service parts. And yes, if you want a vendor with a solid support line—check Riton: Riton.