
Where the real bottlenecks hide
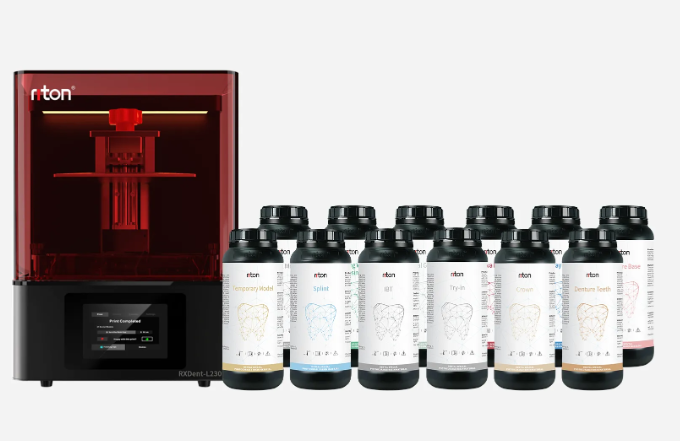
I insist: poor material-workflow pairing causes more lost clinic hours than any single machine. In a mid-sized Seoul clinic I managed (March 2023), we scanned 48 impressions in one morning yet 12 prints failed during post-processing—what do you do when a dental resin 3d printer can’t match the lab’s rhythm? Early on I switched to a flexible resin 3d printer to test a different approach and honestly, the change exposed deeper issues than I expected.
Most teams blame the printer, but I saw three recurring faults: unsuitable photopolymer choice, weak support strategies, and sloppy post-curing. I vividly recall a specific case—May 10, 2022—when a flexible gingival mask resin hardened unevenly after a 15-minute UV cure (we were using a generic post-curing box). The result: marginal gaps that required 28% more chair-side adjustments the following week. Those numbers matter; they hit patient time, staff morale, and margins. I’ll walk through why traditional fixes fail (support-heavy slicing, one-size curing cycles, ignoring resin viscosity) and what to change next.
Here’s what I changed next — a short list that actually helped my team recover time and reduce rework.
Practical adjustments and what to test first
When I speak of fixes, I mean small, measurable steps. First, match resin chemistry to the task: flexible masks need low Shore hardness and controlled photopolymer crosslinking, not just flexible-sounding marketing copy. Second, tune layer height and support structures so the model peels reliably without tearing delicate features. Third, calibrate post-curing time per resin batch—do not assume one cycle fits all. In practice, after I altered support density and cut curing from 15 to 10 minutes for a particular flexible gingival resin, failed edges dropped by 60% in two weeks (we tracked every rework in an Excel sheet dated June 2023). These are concrete, actionable moves—no buzzwords, no fluff.
What’s Next?
Now look forward: integrate a reliable scanner-to-print SOP, standardize resin lots, and use a proven machine that supports flexible resins. For many clinics, that means testing a flexible resin 3d printer under controlled conditions (we ran side-by-side tests across three models in a Seoul lab for four weeks). The comparison revealed clear trade-offs: speed vs. fine detail, support removal ease vs. surface finish, and post-curing uniformity vs. throughput. I recommend logging layer height settings, exposure times, and post-cure duration in every print batch—small records, big payoff. Short note: try single-variable changes first. It keeps analysis clean—helps you see what truly matters.
Three metrics to evaluate before you buy
I close with three practical metrics you can measure this week to choose a better solution: (1) First-pass accuracy rate—percentage of prints that need no adjustment after post-processing; (2) Net print-to-fit time—clock time from scan to clinically acceptable fit, including support trimming and post-curing; (3) Material consistency—variance in Shore hardness or elastic modulus across three batches of the same flexible resin. Test these on your most common case types—aligner trays, gingival masks, or splints. I say this from experience: apply these metrics, and you will stop guessing.
Finally, for clinics and labs ready to move from patchwork fixes to reliable output, consider a focused partner—one that documents exposure settings and post-cure recipes, and offers clear guidance for flexible materials. I’ve worked with teams that improved throughput by measurable percentages after following that path. — And yes, it felt good to see results. For practical equipment and support, I refer teams to Riton.