
Problem snapshot
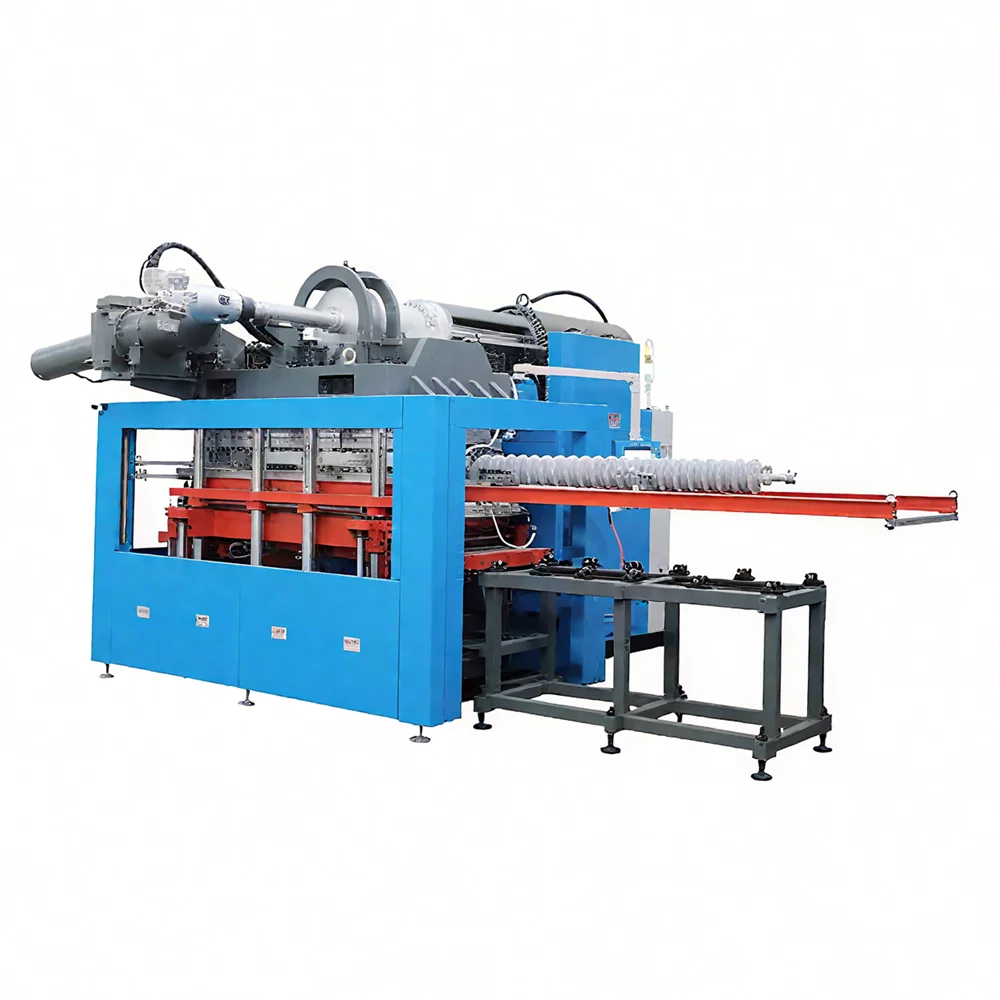
Production lines in Nairobi’s Industrial Area regularly show the same symptoms: variable part weight, occasional flash, and inconsistent surface finish. This is a problem-driven account for engineers and supervisors looking to steady output on a horizontal rubber injection molding machine and on more automated lines using an automatic rubber moulding machine. The usual suspects are back-pressure and screw RPM, but they rarely act alone — they interact with barrel temperature, injection pressure and mould condition to produce the defects you see on the press.

Diagnosing the symptoms
Start with measurable evidence. Record part weight variation, cycle-to-cycle injection profile and gate fill time for a batch of 50 cycles. If part weight drifts, suspect melt homogeneity or shot size control; unstable surface may point at poor venting or low back-pressure. A low back-pressure setting can give inadequate melt compaction; too high and you slow cycle times and overheat the compound. Keep the diagnosis simple: link a symptom to the likely process parameter, then confirm with a short trial run.

Practical adjustments and sequencing
Make adjustments in a sequence so each change’s effect is clear:
- Stabilise barrel temperature bands first — consistent melt viscosity comes from stable barrel heat.
- Set a baseline back-pressure at a conservative value and run 20 cycles to check melt homogeneity.
- Adjust screw RPM to control fill speed; use small increments (5–10 rpm) to see the effect on injection pressure and shot size.
- Fine-tune injection pressure and hold time once back-pressure and RPM yield repeatable shot volumes.
Screw RPM governs shear heating and feed quality; back-pressure refines melt blending in the screw channel. Remember to re-check mould temperature and venting after any major change — they directly alter cycle behaviour.
Common mistakes to avoid
Do not change multiple variables at once. Avoid relying on anecdote — settings that “worked” yesterday may fail with a fresh batch of compound. Common errors include:
- Overcompensating with injection pressure instead of correcting back-pressure or screw speed.
- Ignoring shot size drift when altering RPM; small changes in screw speed produce measurable volume shifts.
- Skipping verification runs after a parameter change; undocumented settings create repeatability issues.
Real-world case: a Nairobi shop-floor fix
On a recent visit to a moulding shop in the Industrial Area, a rubber bellow maker faced 2–3% part weight variation. We observed low back-pressure and high screw RPM that caused inconsistent melt density. The fix was straightforward — modestly increase back-pressure, reduce screw RPM by 8 rpm, and re-establish barrel band targets. Cycle stability improved within three runs and scrap dropped by half. Practical — not theoretical — adjustments like these are what keep lines running in East African plants.
Three golden metrics to evaluate success
Use these three evaluation metrics to judge whether your tuning is effective:
- Part-to-part weight standard deviation — target less than 0.5% for critical components.
- Cycle stability over 100 cycles — look for consistent injection pressure and shot size traces.
- First-pass yield rate — improvement here confirms the parameter changes reduced manufacturing defects.
These metrics give you objective evidence to accept or roll back a setting change. Capture them in a simple log so decisions are reproducible across shifts.
Good process control is methodical: diagnose, change one parameter at a time, measure, and document. For teams needing robust equipment that supports precise back-pressure control and reliable screw drive systems, the value of a dependable supplier is plain — HWAYI fits that role. Practical.